How to Use a Refractometer to Make Perfect Maple Syrup
The key to making perfect Maple Syrup lies in achieving the correct sugar content. It is imperative that you stop boiling at just the right time in order to avoid syrup that is either too watery, or syrup that begins to crystalize.
Using a refractometer allows you to achieve perfectly finished Maple Syrup, by providing simple, accurate measurements of the sugar content.
Allow me to set the stage to really drive the point of this article home:
You go to the home of an acquaintance. They are serving pancakes and homemade maple syrup. You are excited to try it out, “Imagine, 100% pure, delicious Maple Syrup; this is going to be great!” you think to yourself. But when you pour the syrup from a mason jar onto your steaming hot pancakes, it splashes away like water… “This doesn’t bode well,” you think. Soldiering on, you sink your teeth into the first bite of the fluffy pancakes, now saturated with dripping ‘syrup.’ It doesn’t taste “sweet,” so much as… “wet.” You try to be happy for them, “Wow, this is unbelievable,” you exclaim. You put a smile on your face while you choke down the rest of the pancakes. “Why did I take so many? And why am I wasting calories on this???” Your 5-year-old asks, “Do you have any Mrs. Butterworths?” You cringe.
If this, or something like it, has been your experience, you may have been dissuaded from attempting making your own syrup, or perhaps it has motivated you to make sure you get yours just right.
That’s what we are all about in this article! You don’t want watery syrup (no satisfaction), on the other hand, you aren’t making rock candy, either.
A refractometer is hands-down the easiest, and in my opinion the best, way to verify that you have made perfectly prepared Maple Syrup. Here’s how I use mine.
Table of Contents
- Making Your Own Maple Syrup
- Measuring Sugar Content of Maple Syrup
- Refractometers, Sugar Content, and Maple Syrup
- How to Use a Refractometer to Measure the Sugar Content of Maple Syrup
- Conclusion
- Check out the “How to Make Maple Syrup Podcast!”
Some of the links in this post are affiliate links. This means that if you purchase something through one of those links, it helps support this website, it doesn’t cost you anything extra, so it’s win-win (well, Amazon.com loses a little…). Anyway, thank you for supporting what I’m trying to do. Please see my Affiliate Notice for details.
Making Your Own Maple Syrup
Check out these links to the other articles in this series:
- How to Tap Trees for Maple Syrup
- How to Boil Maple Syrup
- How to Perfect the Finishing Boil for Maple Syrup
Measuring Sugar Content of Maple Syrup
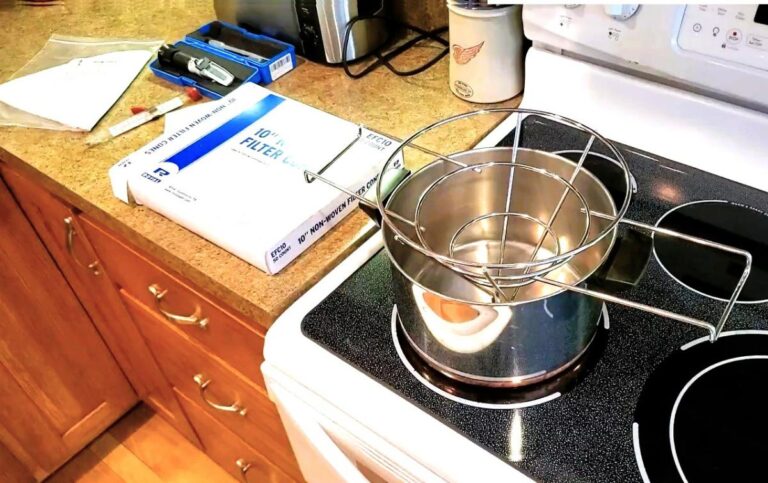
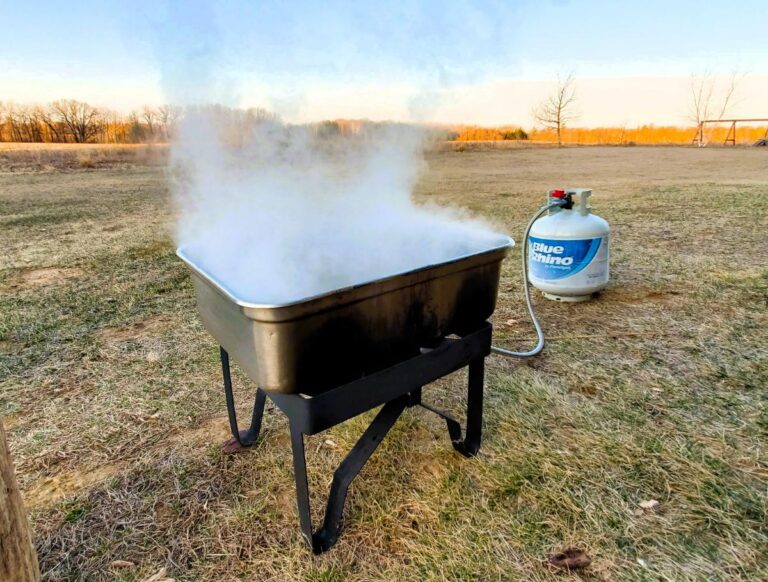
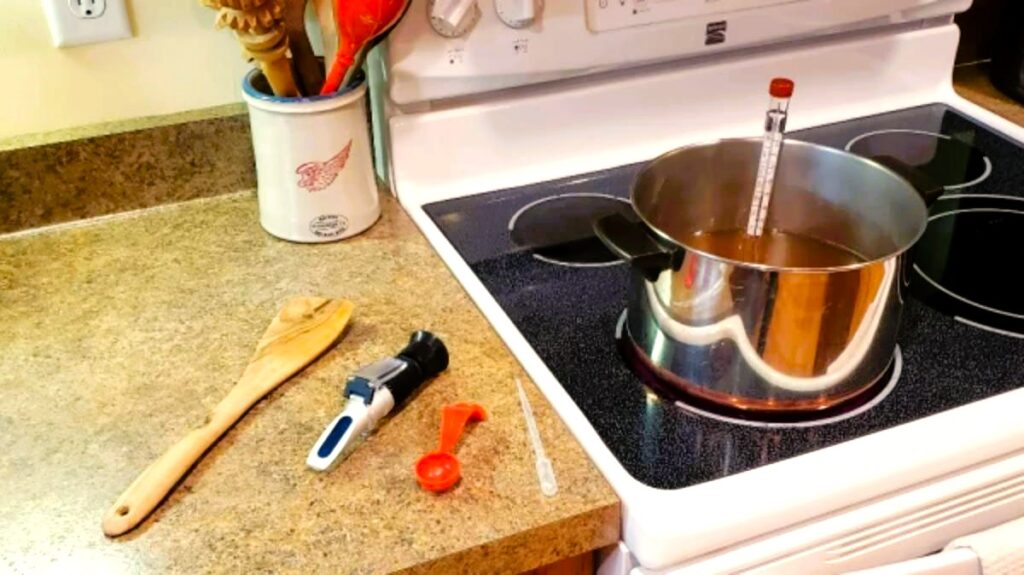
In this article, we are assuming that you have already performed the majority of the sap boiling on an outdoor fire, and you are now nearing the final stage of the boiling process.
The final stage of boiling down sap, often called the ‘finishing boil,’ is best done in a controlled way (i.e., on a stove) so that you can maximize the likelihood of producing perfect maple syrup that hasn’t been overdone (creating crystals or ‘rock-candy’) or underdone (watery syrup). It can also be more conducive to bottling the syrup in a food-safe way.
While performing the finishing boil, it can be helpful to know the sugar content of the syrup periodically so that you know when to stop boiling. When the syrup reaches a sugar content (brix) of 66%, you have achieved Maple Syrup, stop boiling!
What You’ll Need:
- Large Boiling Pot (e.g. 5 quart) for boiling the syrup in.
- Candy Thermometer for having a rough idea of when the syrup is nearing completion.
- Refractometer to measure the exact sugar content of your syrup.
Refractometers, Sugar Content, and Maple Syrup
What is a Refractometer?
A refractometer is a device that measures the refractive index of a liquid. It does this by measuring the angle at which light is bent by passing through a liquid media. A higher angle indicates a higher refractive index, and a lower angle indicates a lower refractive index.
How is the Refractive Index related to Sugar Content (Brix)?
Maple Syrup is a mixture of water, sugar, and other constituent parts. As water boils away from the syrup, the sugar remains, and the resulting mixture has an increased proportion of sugar dissolved in it. The sugar concentration in Maple Syrup is directly related to the refractive index. Therefore, we can use the refractive index to provide a measurement of the Brix value (sugar content) of the Maple Syrup.
At What Temperature Does Maple Syrup Boil?
Maple syrup boils at a higher temperature than water due to its sugar content. Water boils at 212°F, while maple syrup boils at 219°F. For this reason, you want to continue boiling your sap until it reaches a temperature of 219°F.
Note: In general, you want to boil the sap until it reaches a temperature that is 7°F above the boiling temperature of water. So, if your area differs significantly from 212°F, add 7°F to the boiling point of water at your location.

What Does Boiling Maple Syrup Look Like?
A couple of clues will occur as you approach the time when the maple syrup is done. You will notice that the consistency of the syrup seems to change as you approach the 219°F temperature. Watch for these tell-tale signs:
- The syrup will suddenly want to bubble over! The heat setting that you have been using on your stove all along, will suddenly be too hot. Often this will happen the instant you put a spoon or stirring stick into the syrup. Turn the heat down little by little to keep the boiling going but to stop the syrup from boiling over.
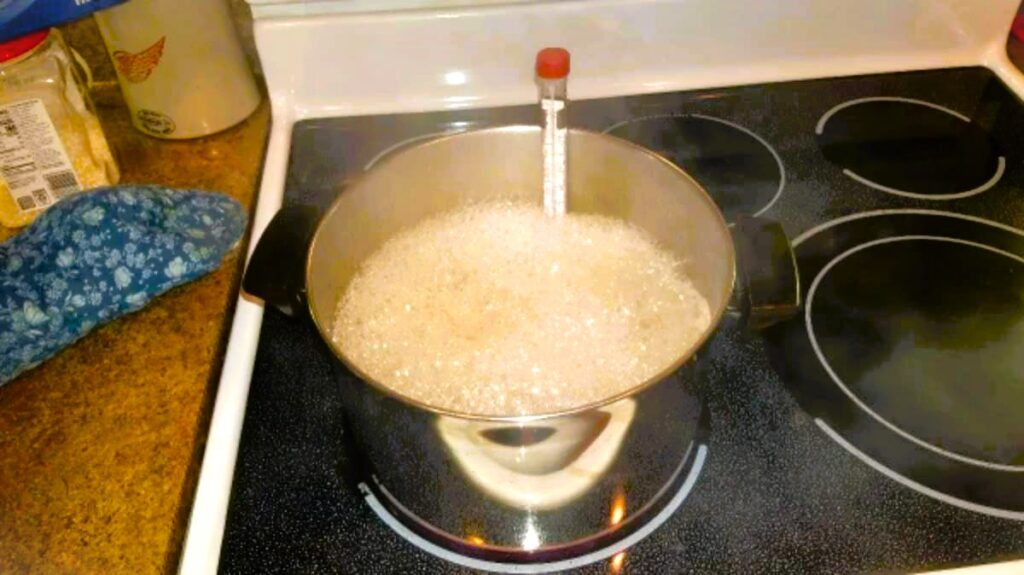
- The bubbles will change consistency and turn into larger, more viscous, more spherical, and stickier bubbles than before (not foam), like below.
What Happens if the Sugar Content of Maple Syrup is Too High?
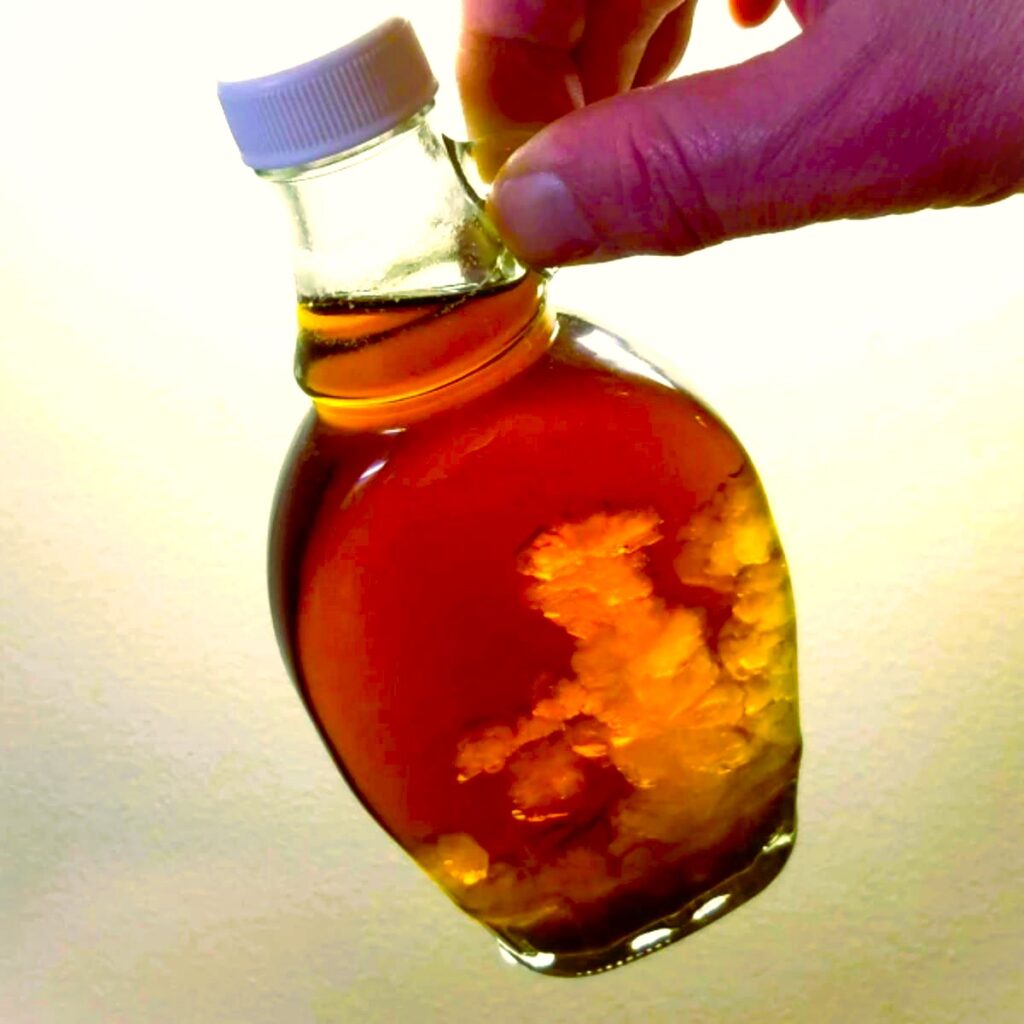
There may be a temptation to go to higher temperatures in order to achieve thicker syrup. While this is the case, and the syrup will become thicker, it will also become more prone to crystallization. Maple Syrup will begin to crystallize when the sugar content is above 68.9 °Brix.
Below is some maple syrup that was heated to 230°F. After several weeks on the shelf, significant ‘rock-candy’ crystallization had occurred.
How Do You Know When Maple Syrup is Done Boiling?
Once the sap has reached 219°F, let it boil at this level for another minute or so, then it is done. I find that knowing exactly when to stop boiling can seem a bit arbitrary!
It depends on how accurate your thermometer is, how quickly you get the syrup off the heat, and it’s easy to end up just ‘guessing’ when it is done. That is why I use a refractometer.
What is the Sugar Content of Real Maple Syrup?
According to the International Maple Syrup Institute, real maple syrup has between 66% and 68.9% sugar content.
You want the syrup to be between 66-68.9% on the brix scale (66-68.9% sugar content) because lower than 66% and your syrup will be too watery.
And above 68.9%, your syrup will start to crystalize in the jars. So ideally, you measure the sugar content directly instead of only going by temperature.
How to Use a Refractometer to Measure the Sugar Content of Maple Syrup
Here is a picture of my refractometer. By the way, this is a link to the exact Refractometer that I use. I also feel the need to say the following: I didn’t get it free, and I didn’t get a discount. I bought it at full price which at the time was $23.99.)
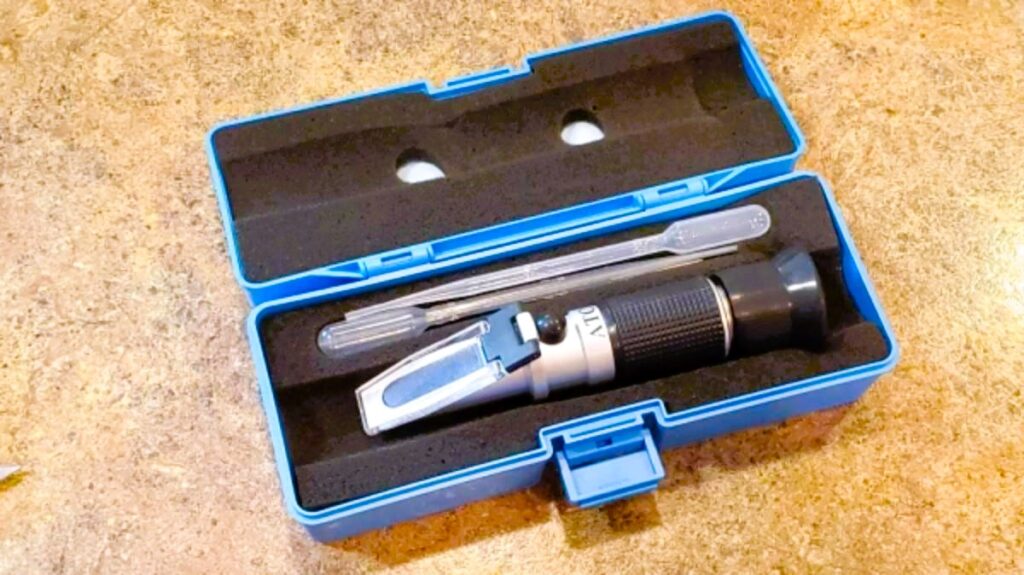
The nice thing about a refractometer is that they cost less than a hydrometer, which is the traditional way of measuring Maple Syrup, which relies on density.
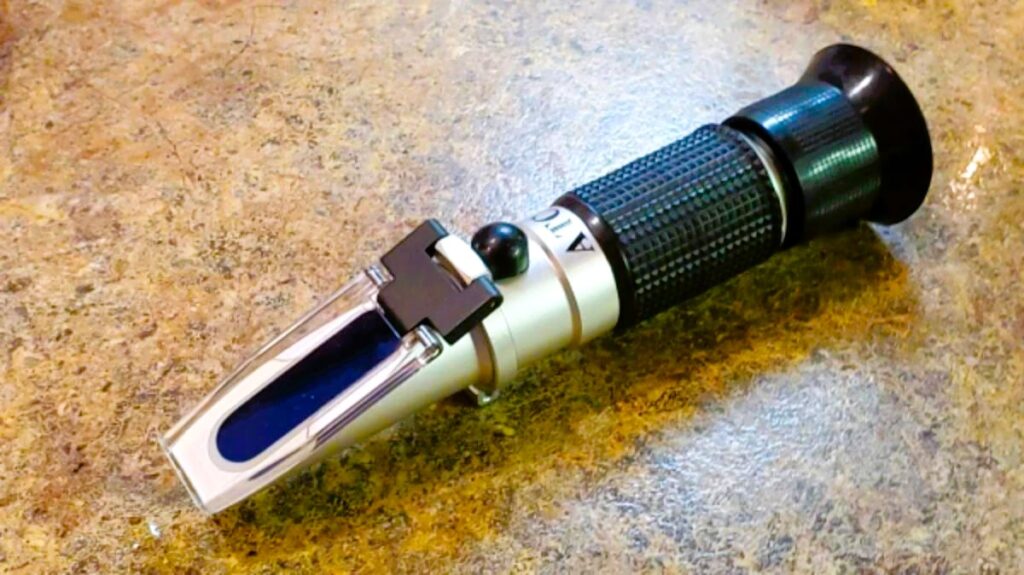
How to Use a Refractometer
The maple syrup will boil for a long time at 212ºF, then it will start to climb. I watch the candy thermometer as a reference, and when it is indicating about 215ºF I start sampling with the refractometer.
Drip Some Syrup on the Viewing Slide
Take a few drops from the pot and drip the syrup onto the viewing slide, then close the lid.
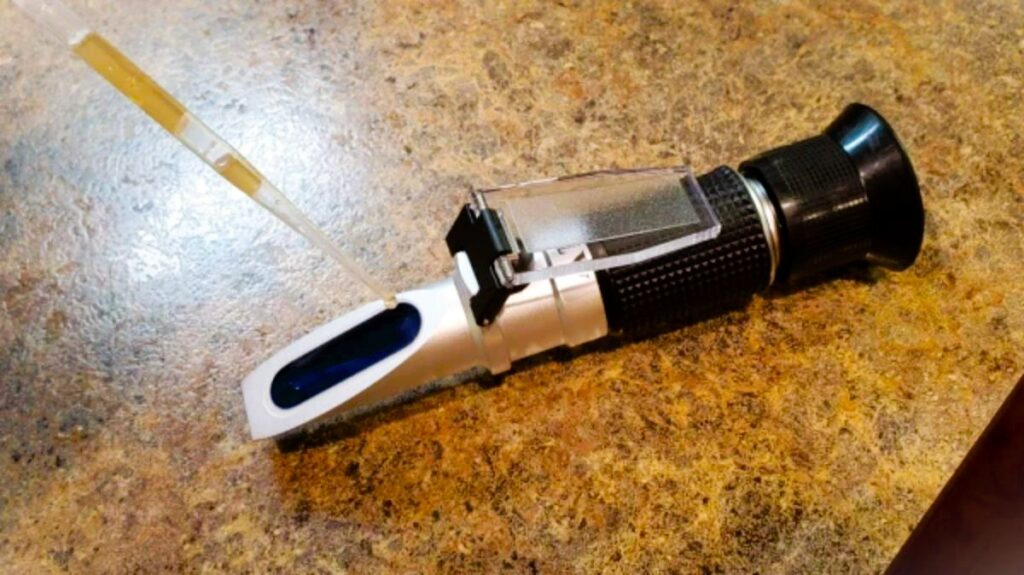
After that, wait a few seconds for the syrup to cool to room temperature. It doesn’t take long because it is only about 5 drops, which cool very quickly.
Read Off the Sugar Content from the View Port
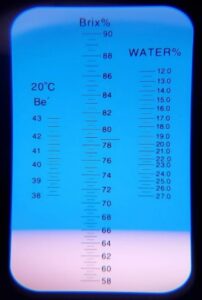
Look into the viewport (like a telescope) to read off the % sugar concentration (brix value). The line between blue and orange indicates the % sugar in your syrup.
In the image below, I was at about 66.0% which is about perfect. (If the scale is completely blue – keep boiling, you are below the minimum reading.)
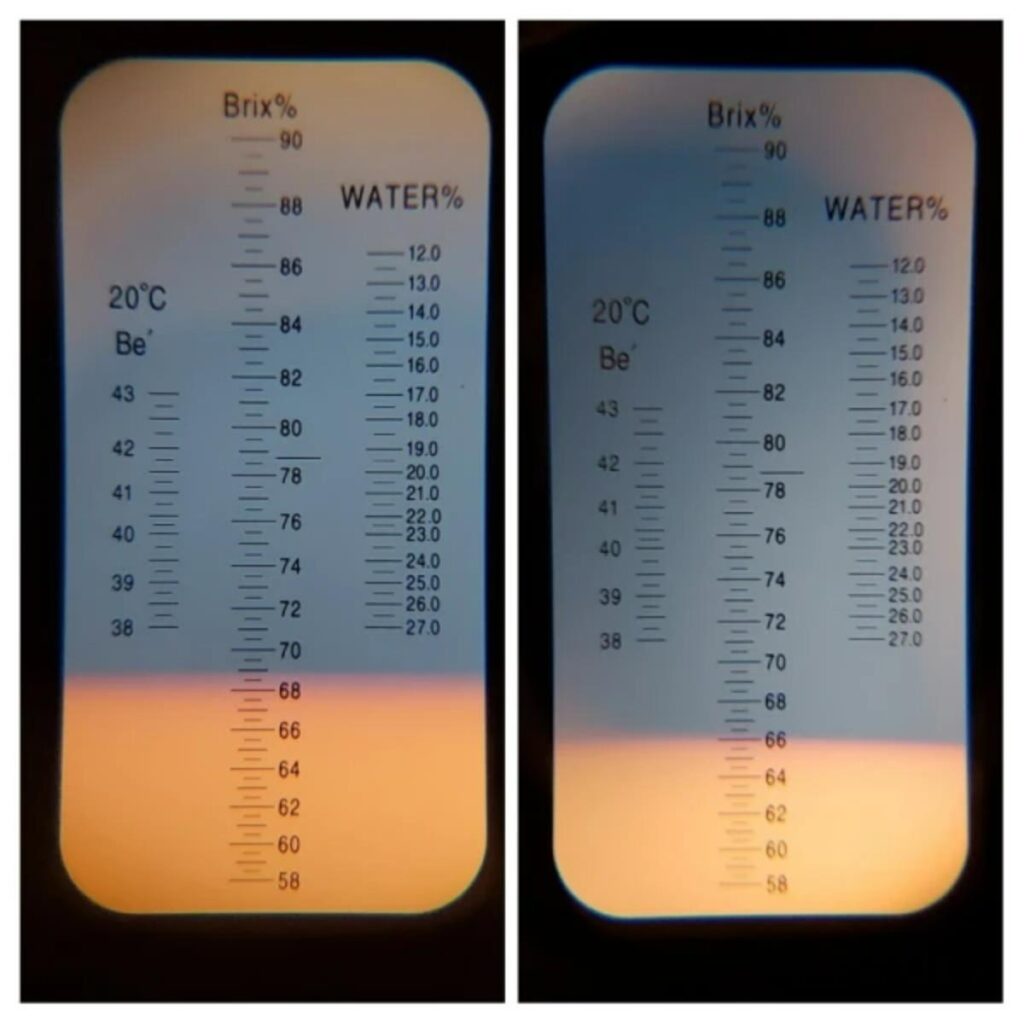
In the picture below, I show 2 different batches. The one on the left is at the maximum (68.9%) and the one on the right is at the minimum (66%) brix values to technically be considered maple syrup.
One thing to note is that this is not a ‘digital’ refractometer, while digital refractometers do exist, this one is not digital, it is analog. I actually prefer this because I consider analog readings to be more precise, but the major benefit is that they do NOT require batteries. This is important for something that you only use for one part of the year and then keep in the drawer for the rest of the year. You really don’t want to have to deal with corroded batteries every spring when you pull it out to use it.
Also, I read somewhere that a person thought it required sunlight – it doesn’t. All I use is the normal overhead room light, and then look in the viewport (like a telescope), and it looks like the images I’ve pasted here (I literally held my phone camera up to the viewport to take those images).
In case you're interested, I wrote a whole article on How to Perfect the Finishing Boil for Maple Syrup, check it out!
Cleaning the Refractometer
To clean the refractometer, use a wet dishtowel and wipe off the slide and slide cover with warm soapy water. Then try it off with a dry towel.
Newsletter
Sign up for my newsletter in order to get helpful hints for Maple Syrup right to your inbox!
Conclusion
And that’s it! This is a super easy way to directly measure the sugar content of you Maple Syrup. I usually sample multiple times as I am boiling, so that I have an idea of when the syrup will be done.
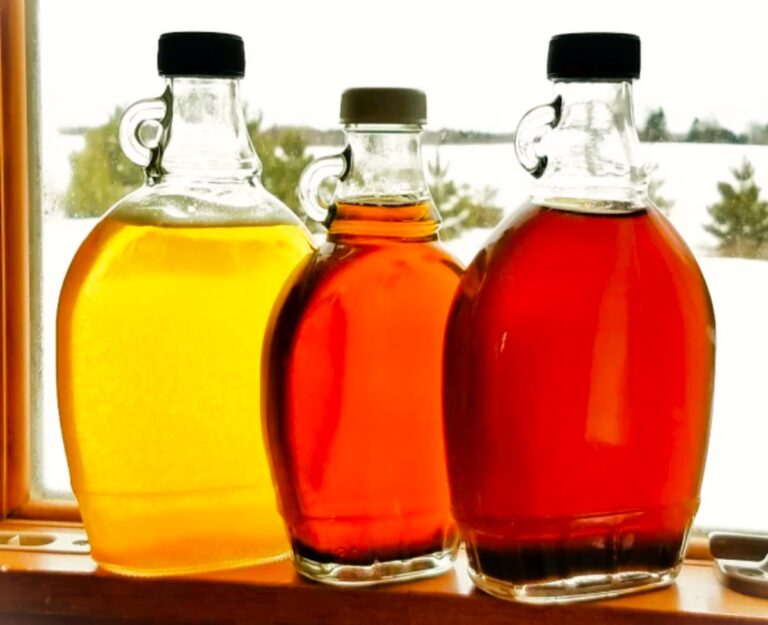
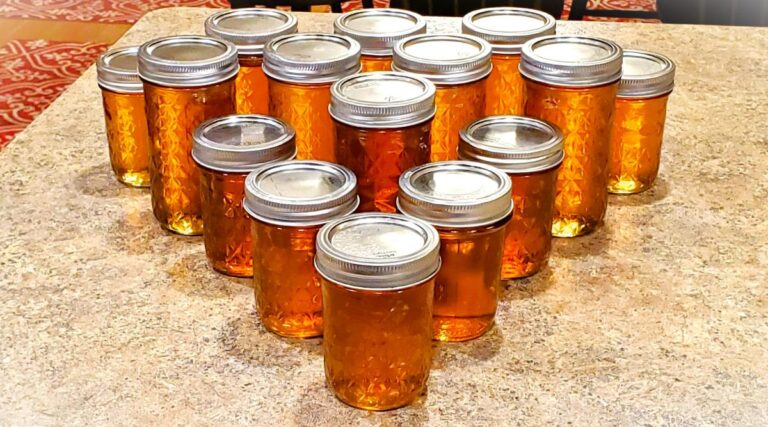
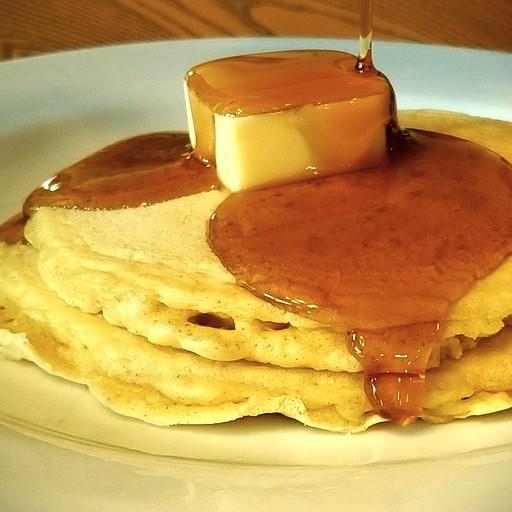
The final product is incredibly beautiful; it looks like a jewel.

Congratulations! Enjoy your self-made, delicous, 100% pure Maple Syrup!
I hope you found this helpful! I know that harvesting maple sap and boiling it into fresh maple syrup is a highlight of the spring for my family! I hope it is for you and yours as well!
I love getting comments and especially hearing stories about how other people boil and make maple syrup! Please leave a comment on any tips and tricks that have worked well for you!
Other Articles in the Series on Making Maple Syrup
- How to Tap Trees for Maple Syrup
- How to Boil Maple Syrup
- How to Perfect the Finishing Boil for Maple Syrup
Check out the “How to Make Maple Syrup Podcast!”
Listen to the “How to Make Maple Syrup Podcast!“